


Price conversion setting
In the system, there are three options for calculating values on elements:
- From prices – after selecting this option, enter the quantity, unit prices and VAT rate, and the system will calculate the sums
- From sums– enter the sum value, quantity and VAT rate and the system will calculate unit prices
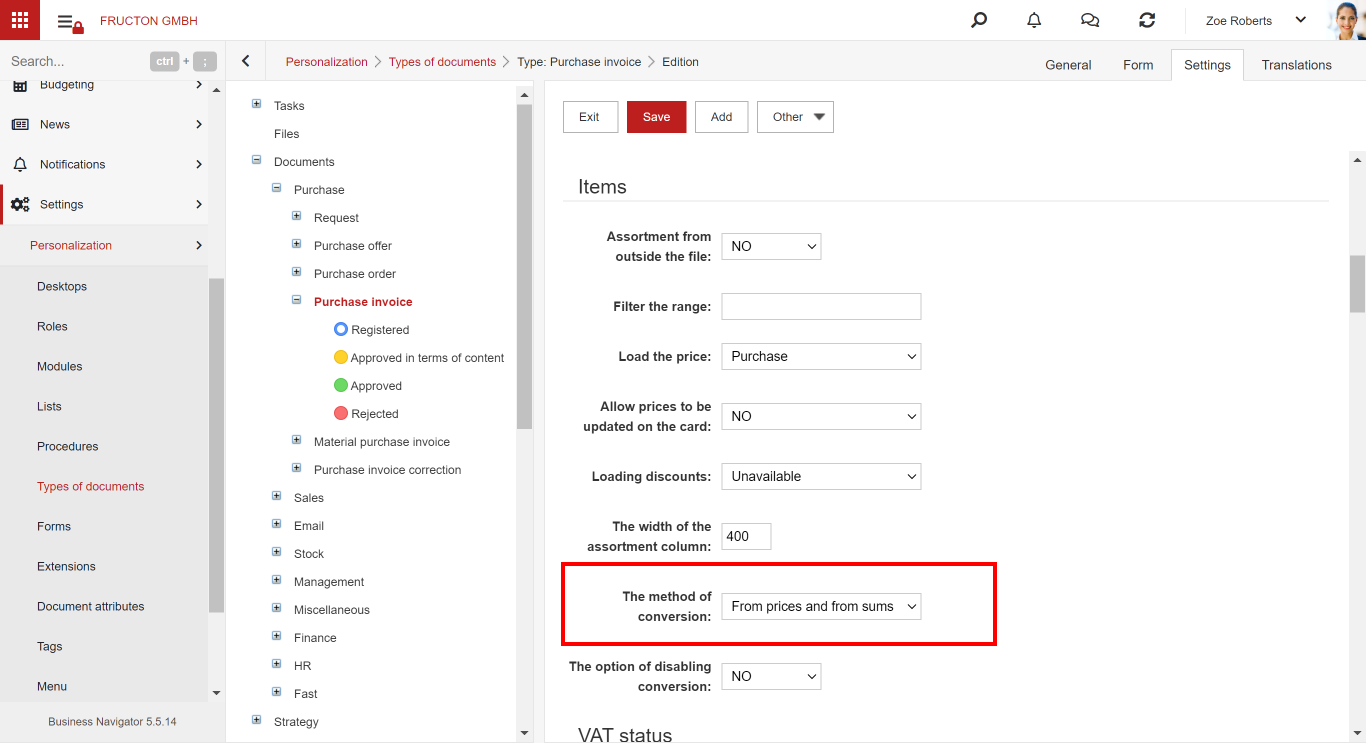
- From prices and sums – you can provide any data starting from the unit price or from the sum and the system will calculate the missing values
To set one of the methods on a document, go to the Document types module, select the appropriate document from the list and click the Edit button. Then go to the Settings tab, find the Elements section and select the appropriate item in the Conversion method field.
Set the visibility of fields in the table of items
It is possible to select fields that will be displayed as columns of the table with elements. The available items are:
- No – Ordinal number
- Assortment
- Unit – Measure unit
- Quantity
- Currency
- Net price after discount
- Gross price after discount
- Discount
- Net price
- Gross price
- VAT rate
- Net
- VAT
- Gross
To hide unnecessary fields, go to the Document types module, select the appropriate document from the list and click the Edit button. Then go to the Form tab and find the built-in Elements field (usually in a container with the same name).
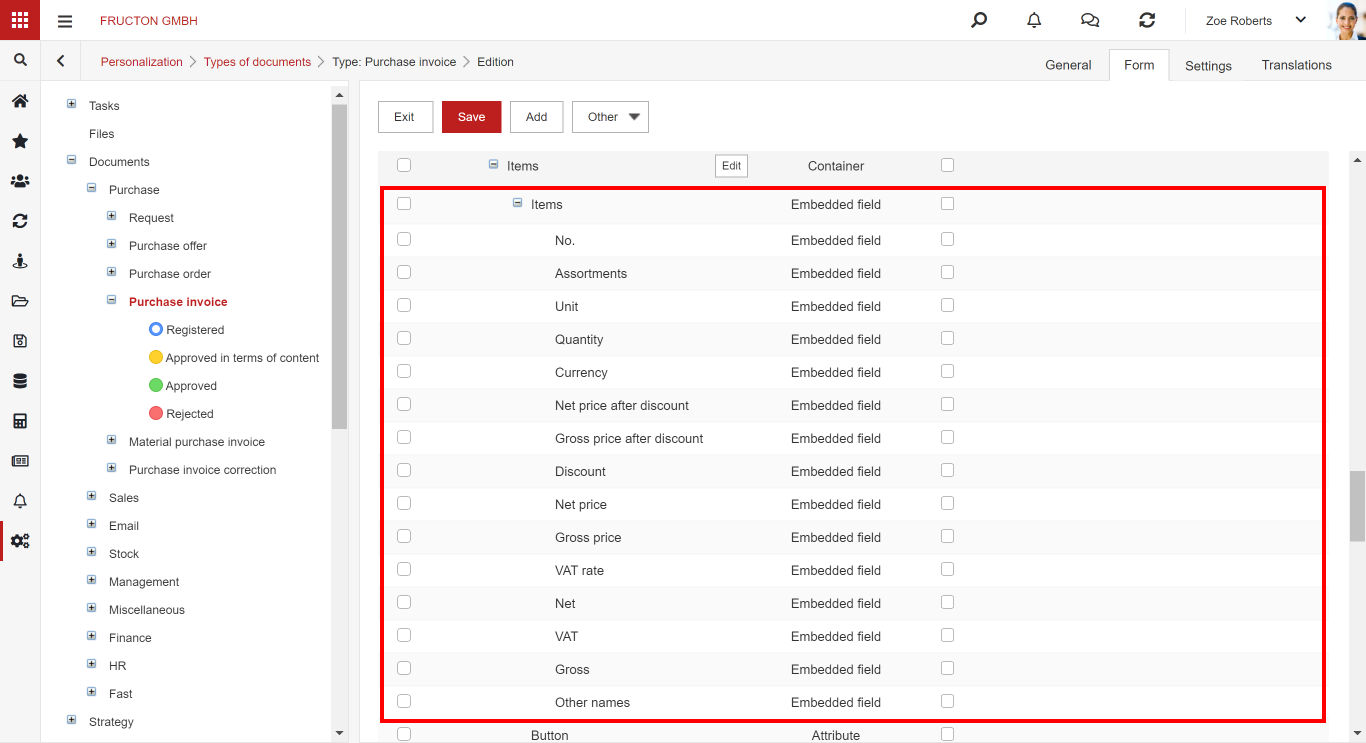
To hide selected fields, uncheck the second checkbox that is responsible for field visibility. If we want any field to be visible, select the checkbox back. After setting the visibility of the fields, click Save.
Setting the number of decimal places for items
To change the number of decimal places displayed, change the Number of decimal places parameter in the system configuration, available in Settings > Other > Settings. It is located in the Documents section.
You can read more about system settings in a separate article.
Adding an inventory category
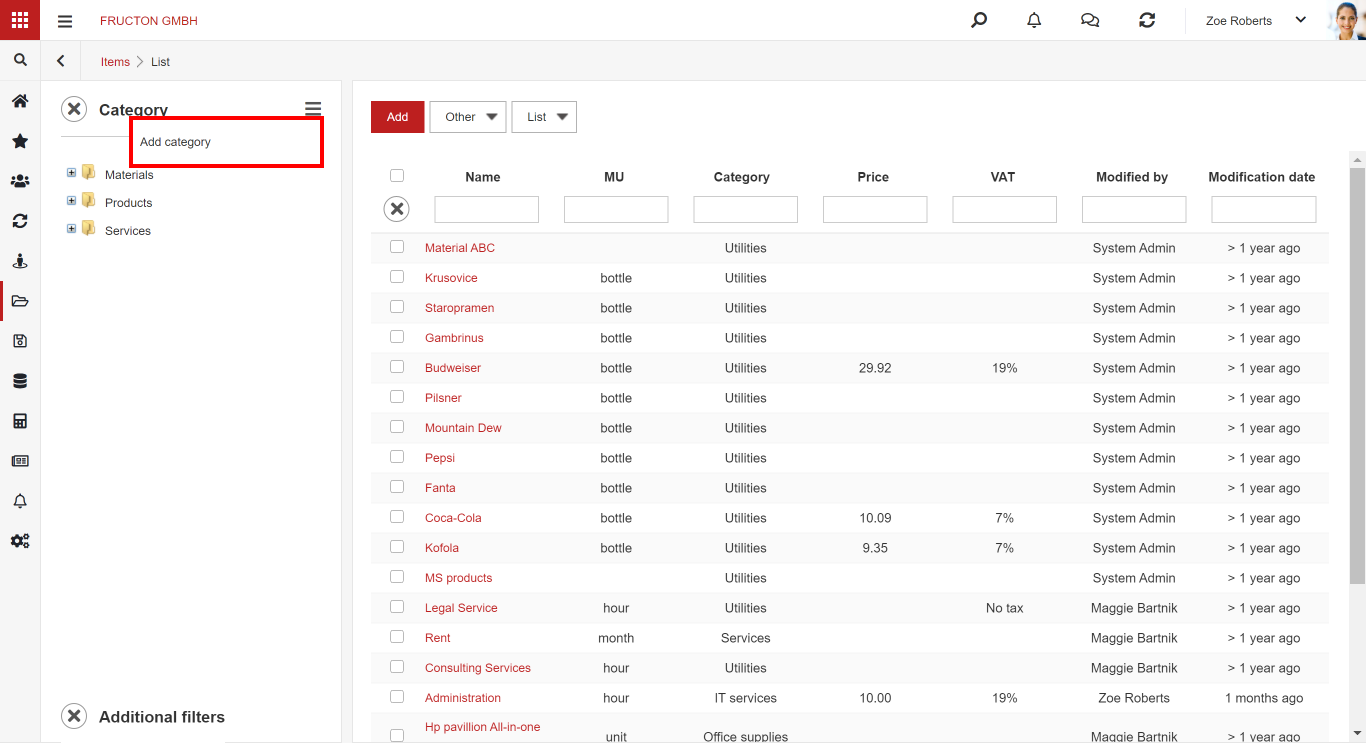
We go to the Documents module, then select the Assortment module, On the left side there is a tree with already existing categories.
A new category can be added as a new branch in the category tree or it can be a subcategory of an existing category. To add a new category, click the menu above the tree. Select Add category from the list. A form for adding a new category will open.
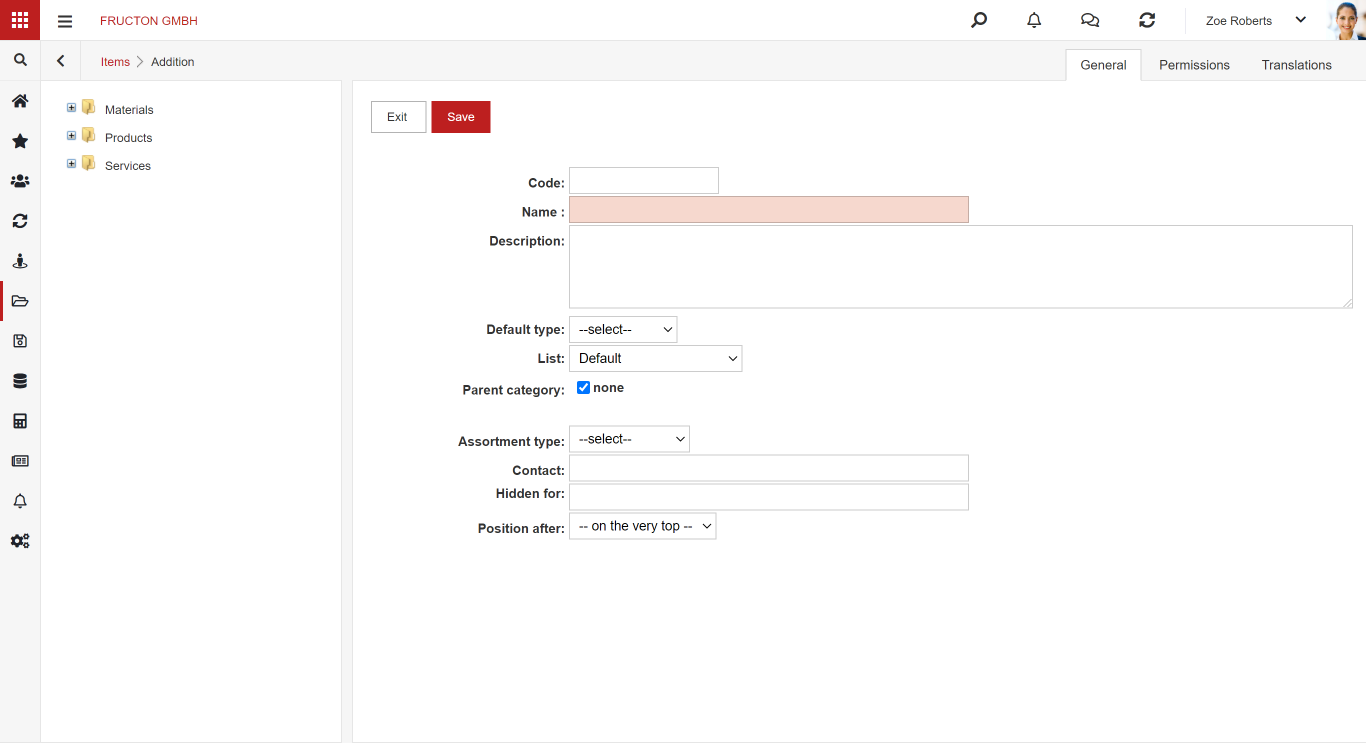
The fields of interest are Name, Parent Category, Assortment Type and Position after. Optional to be completed: Code, Description. Leave the other fields in the original version.
- Name – name for the newly created category
- Parent category – by default, the “None” checkbox is selected. If we leave it in this version, the category will be created as a new branch in the tree. If we want a category to be a child of an existing one, we deselect the checkbox and select a category from the tree which will be superior to the emerging one.
- Type of assortment – to choose from: Material, External Service, Product, Product, Own Service
- Position after – the category will be inserted in the place selected on the tree
After completing the fields, click Save and then Exit.
Narrow down the display of categories in a document
If you want only a selected assortment that belongs to a given category on the document, go to the Document types module, select the appropriate document from the list and click the Edit button. Then go to the Settings tab, find the Items section (see the first GIF) and select the categories to which we want to narrow the assortment in the Filter assortment field. Click Save.
