


Theme colour editor
In the previous version of the system, we added the possibility to change the system layout by selecting a different theme. Now, we have extended this functionality, and in the current version, you can edit the color scheme by yourself.
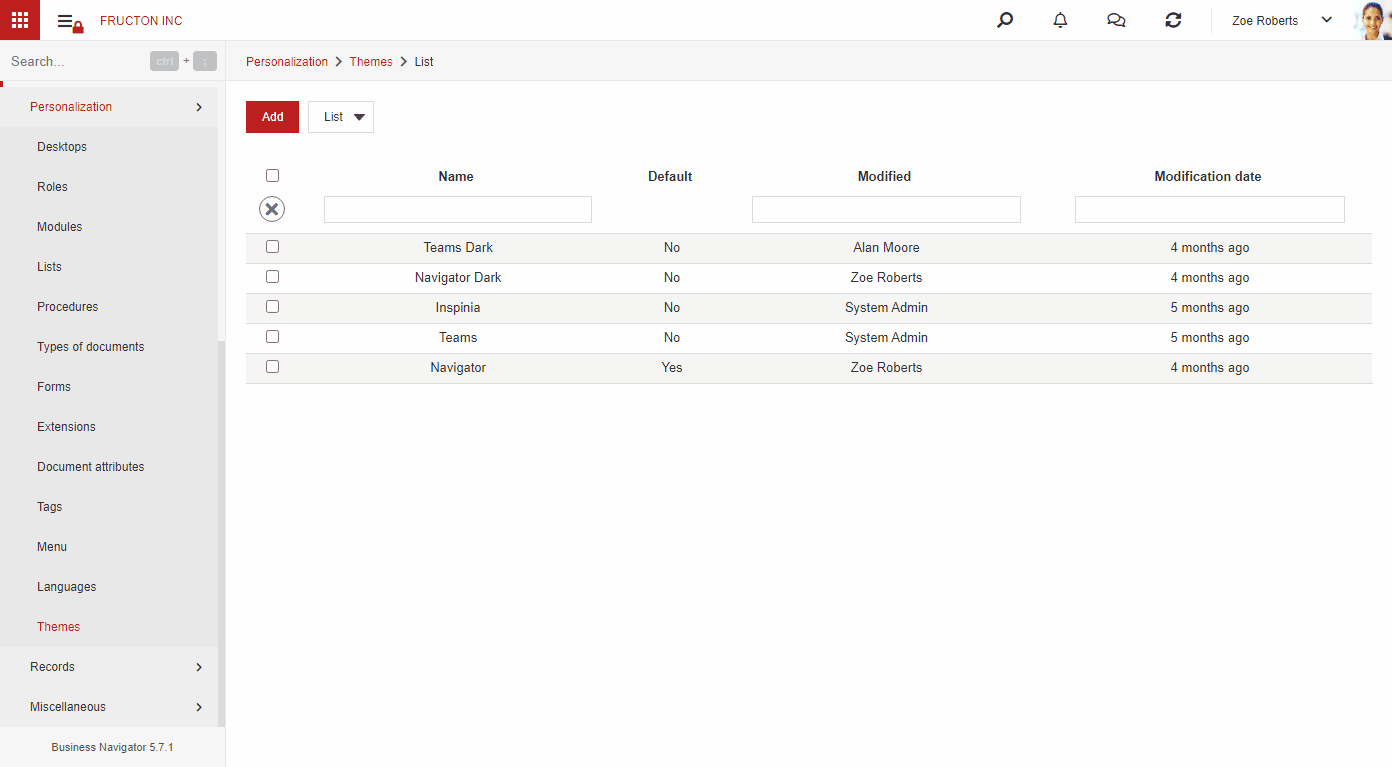
To do so, please go to Settings > Personalization, and choose the Themes option.
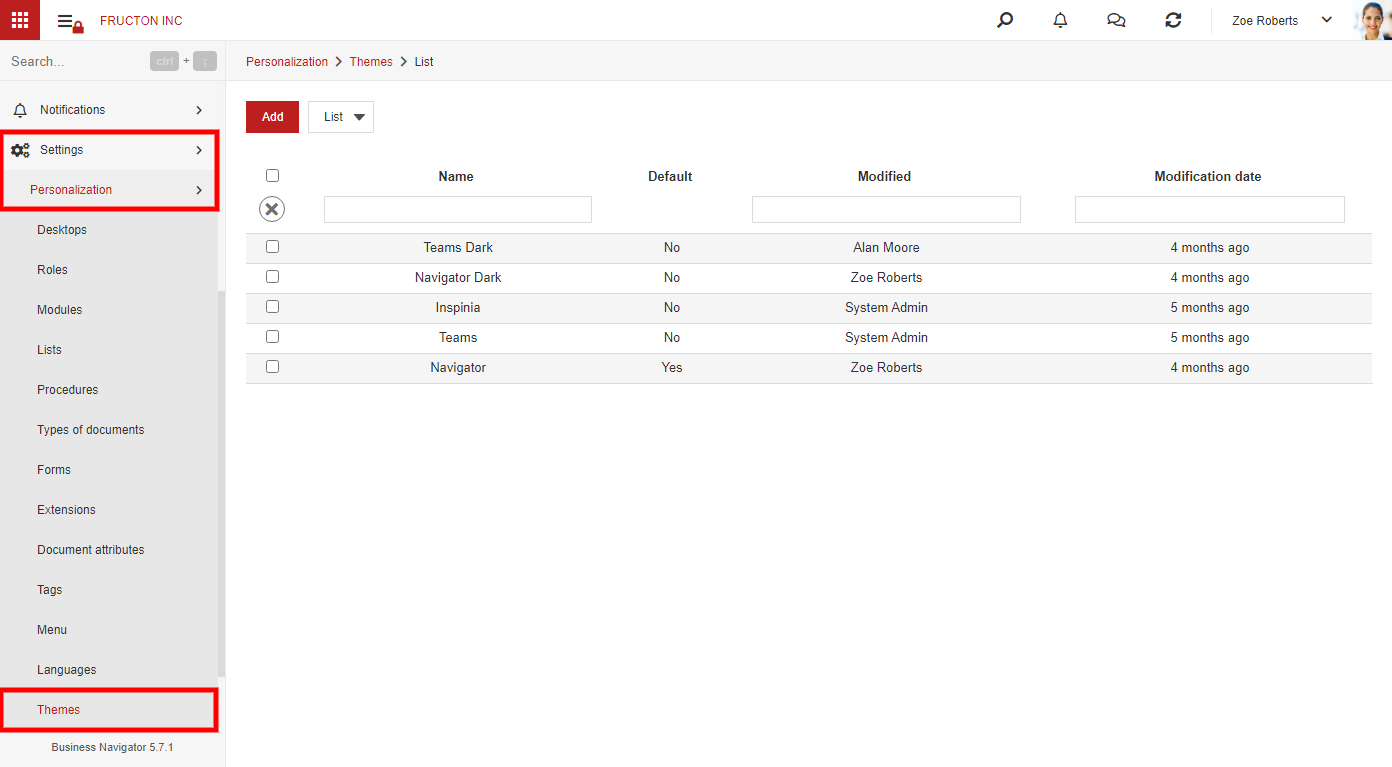
Once you select this option, you can start customizing the colors of the system elements, font type, and buttons’ appearance. You can enter item values manually, or in the case of colors, there is a simple color editor in which you can select the preferred shade.
Using the theme editor, we can add a new theme or modify one of the predefined themes available in the system. Some important options are: Default – each new user will have this theme enabled and Active – unless the color scheme is active, the user does not see it and cannot select it. The Configuration mode selector enables customization in advanced view.
After saving the theme, if you have set the theme active, it is available to all users.
Preview as a different user
System administrator often needs to test how the system will work after modifications. Usually, testing is meaningful with accounts other than the administrator because of different permissions or system settings. To perform such tests, the administrator had to log out of the system and login as a different user.

Now, we added a tool that allows you to switch to another user instead of logging out of the system. After selecting the Switch to option, each action in the system performs as by the user to whom you have switched. In other words, each new document, every step performed as part of a workflow procedure, or each change of a system element will be recognized by the system as being performed by the selected user. However, there will be no indication in the system that these actions were actually performed by another user.

You can return to your original user settings by selecting the Come back to yourself option in the main menu.
Because such user switching is potentially dangerous and can lead to system fraud, this option is disabled by default. To enable it, set the value 1 in the Value column of the Sg table in the IsSwitchUser row in the system configuration settings. You can check the current value of this parameter in the database by running the command select * from Sg in the Management Studio. This value can also be changed in the system settings form. There is no way to limit user switching, so you cannot set up the system that the administrator cannot switch to a specific user.
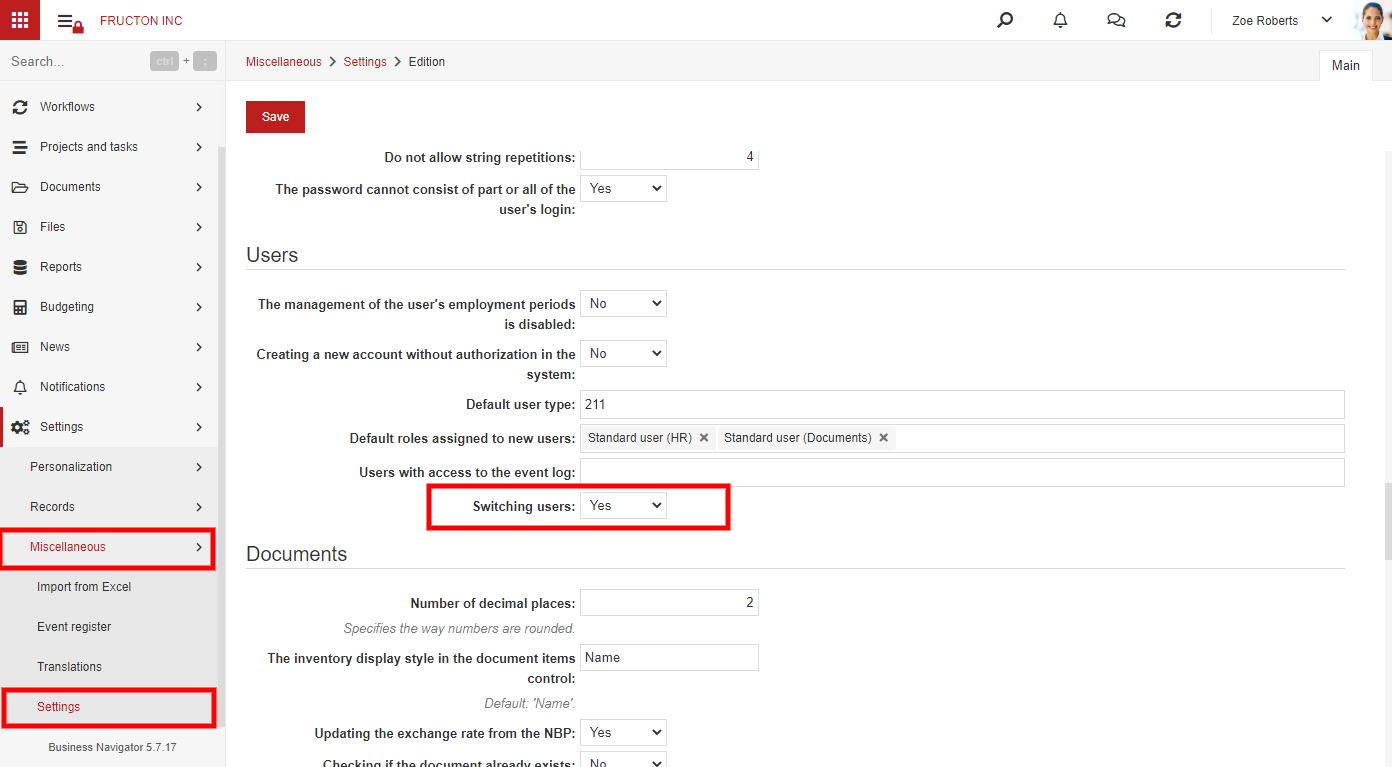
Once this is done, the selected users can switch to another user. This ability is associated with the Administrator user role in the system.

Anyone assigned this role will be able to switch to another user.
Assigning roles to groups
In the new version, we extended the groups’ configuration settings. Now, you can assign a specific role to a group of users.
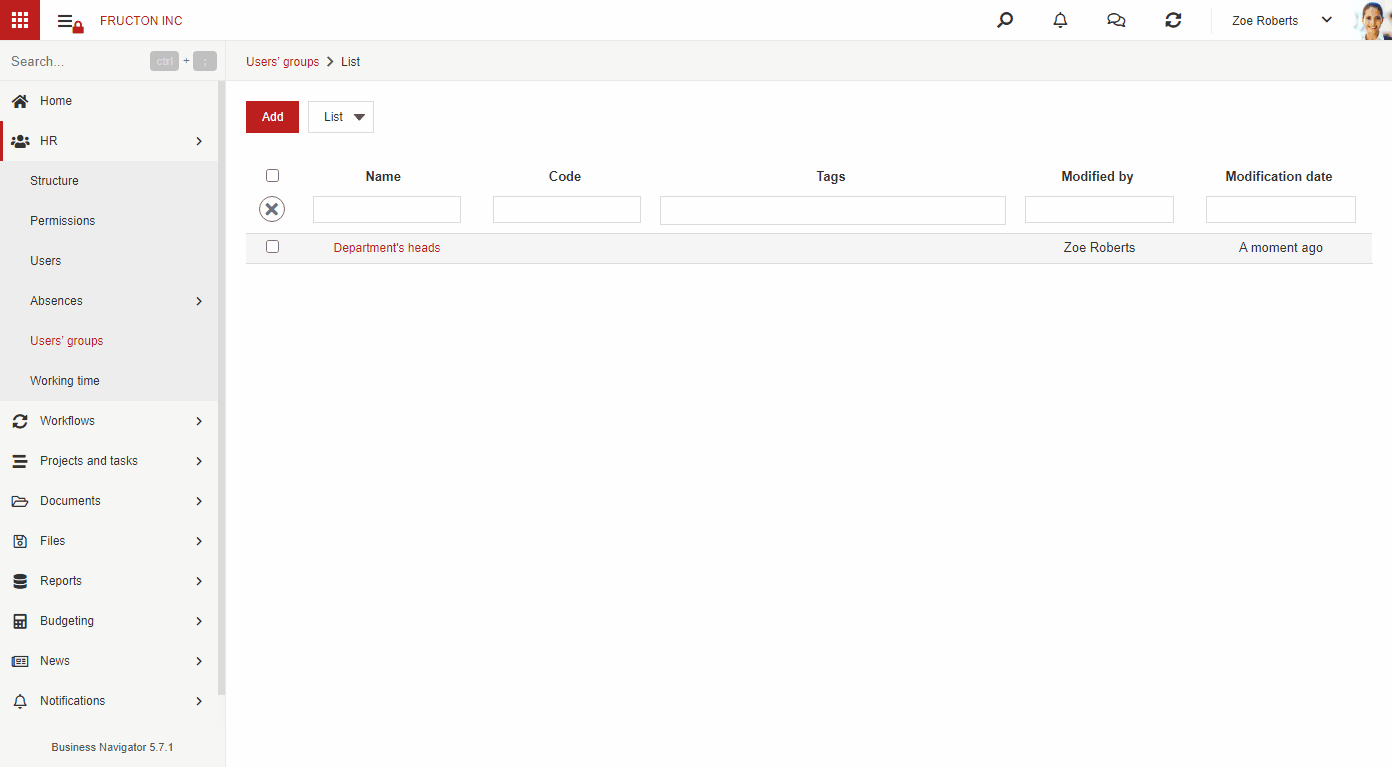
It works similarly to assigning a role to a user. Each user receives the permissions associated with the role assigned to their group. As a result, the group is another source of permissions for the user. The user’s permissions can now result from the responsibilities assigned to them personally, their roles in the system, the permissions related to the organizational structure (position, department, division), or the permissions from the roles assigned to the group.
Bulk operations on multiple objects
We have added an option to bulk change the element values on a document. Each document in the More menu has the option Modify selected. After selecting this option, you will see a pop-up window, where you can choose items to modify. This feature has some limitations. All the documents should be the same type. For example, you cannot change the Purchase Invoice and the Offer all at once. If you need to modify different documents, you should run this option as many times as many document types you have.

When you open the window, it is blank. There are only Add and Save buttons. Clicking the Add button allows you to add form elements to be changed. For each document type, the list of available files is limited to this specific one. You can select any form item. Once you choose an element, you can enter its value. According to the illustration, depending on the item type, we have different possibilities of data input. Besides the standard text or number editing, you have a calendar for dates or a dictionary linked to the element. We can add one or several items from the form.
After editing all the selected, please Save the changes.
System settings editing from within the system
The system settings in NAVIGATOR had to be specified by editing the Sg table in the database. This required access to the database through Management Studio. Now, we added a system form that contains all records from this table. Users can conveniently change the values of all items.
The settings form from the Sg table is located in Settings > Other > Settings
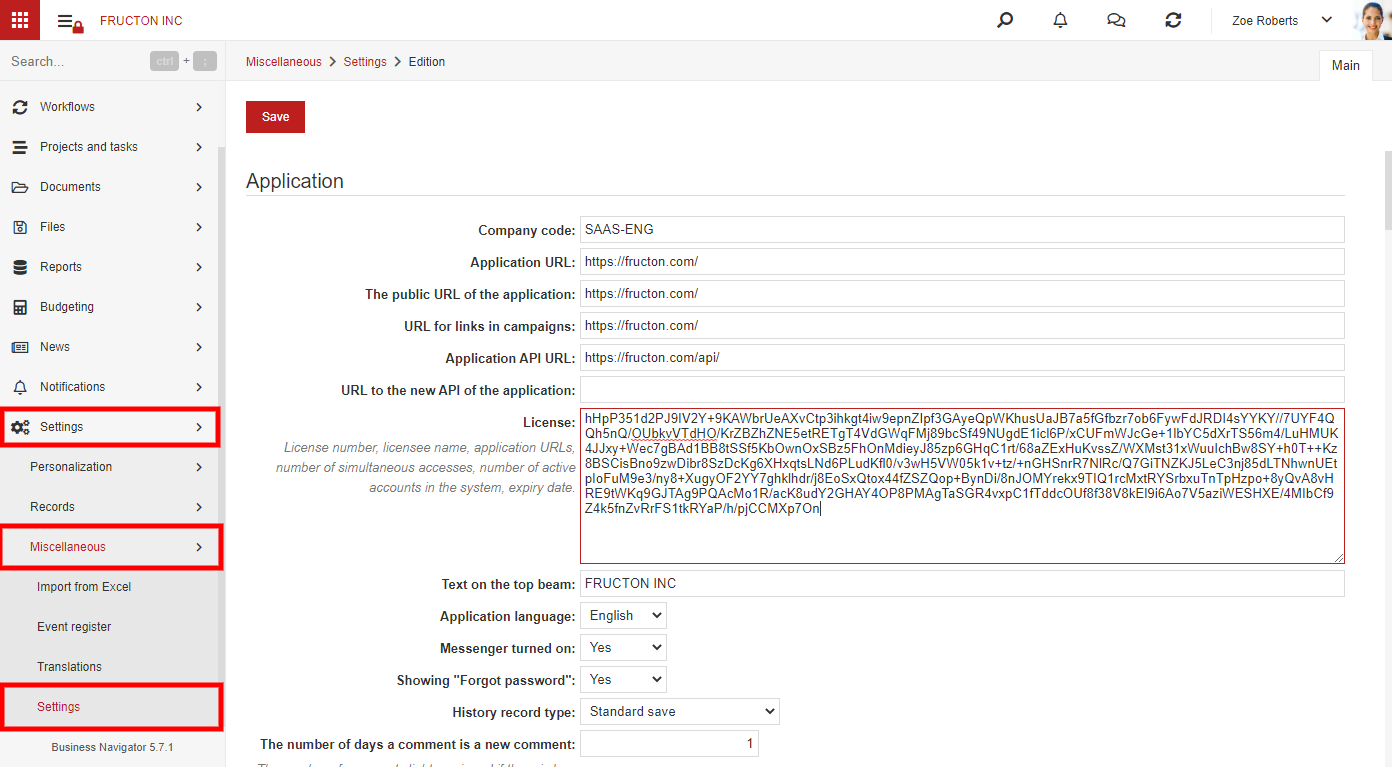
As you can see on the screenshot, some elements are configured by simply entering values (e.g. the license key or the server address), while some items have a simple dictionary from which the user can choose values.
For a detailed description of the form, please read this article
New form types
In the newest version, there are two more form types – User and Group. In previous versions, both these objects used predefined forms embedded in the system. It caused many limitations in comparison to elements for which the user could define their form. Now, the user can define his own form for both objects. You can still use previous embedded forms. They are used in standard installation.
Why is this change crucial to the user? Using the old form, the system administrator could not manage it like standard user-defined form-based objects (such as a Document). After the change, once the administrator defines their user or group form, they have all the tools available to control it. The administrator can limit the visibility or editability of particular fields (e.g. the Login or Domain field can be edited only by the administrator, while the Phone number field is visible only to superiors and co-workers). It makes the system more flexible.
User form
It is possible to define forms in the User group. They are used to manage users in the system – e.g. via the HR > Users application or via the user’s menu.

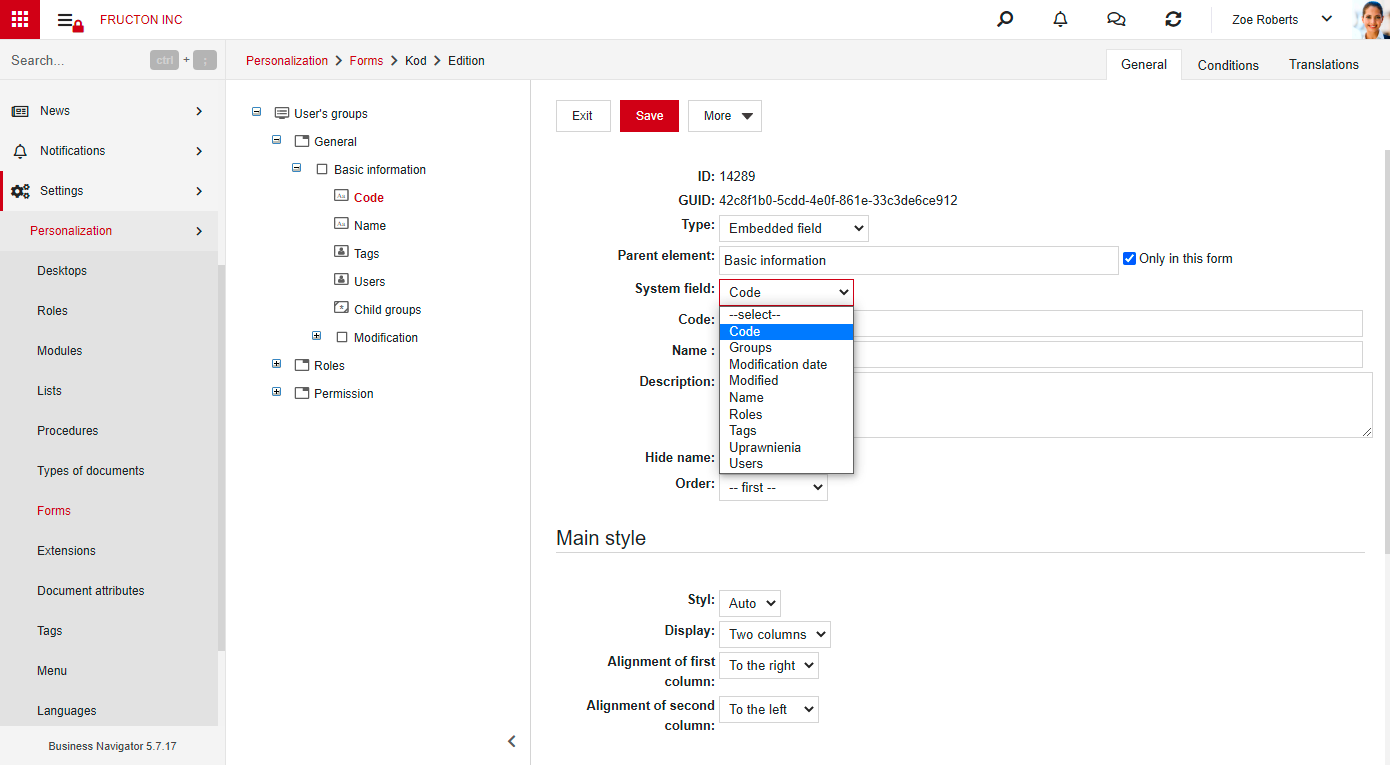
When you select Groups – User and save the form, you see a standard form creation view. Like any other form, this one also consists of tabs, containers, embedded fields, attributes, etc. You can use it the same way as others.
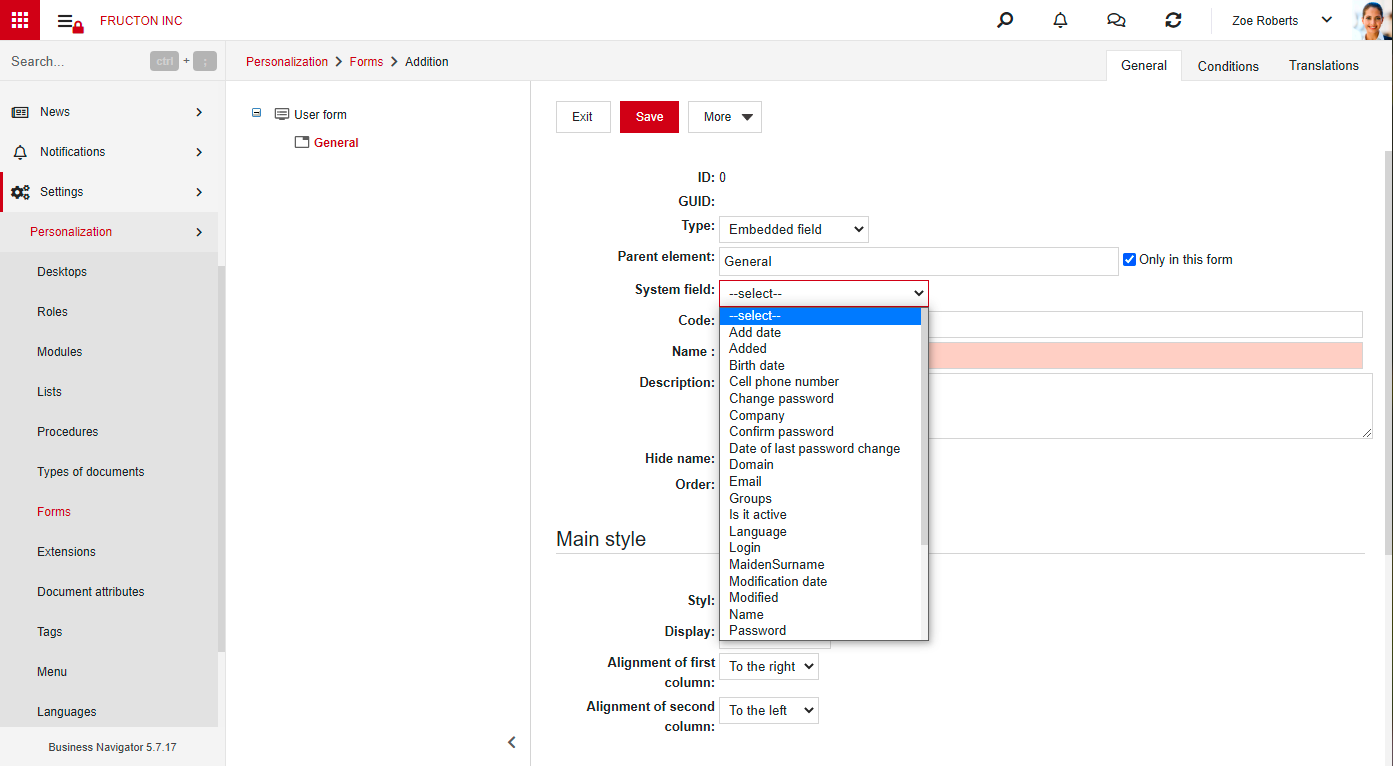
As you can see, the built-in fields available for this form are unique. We get all the fields that are specific to the user form. These fields match the elements in the old version of the form.
You cannot use visual editor on this form as the form is not very often edited. The form is edited traditionally, just like any other form upon disabling the visual editor.
Group form
Another form we added is the group form. It matches the built-in form available in the HR > User groups application.
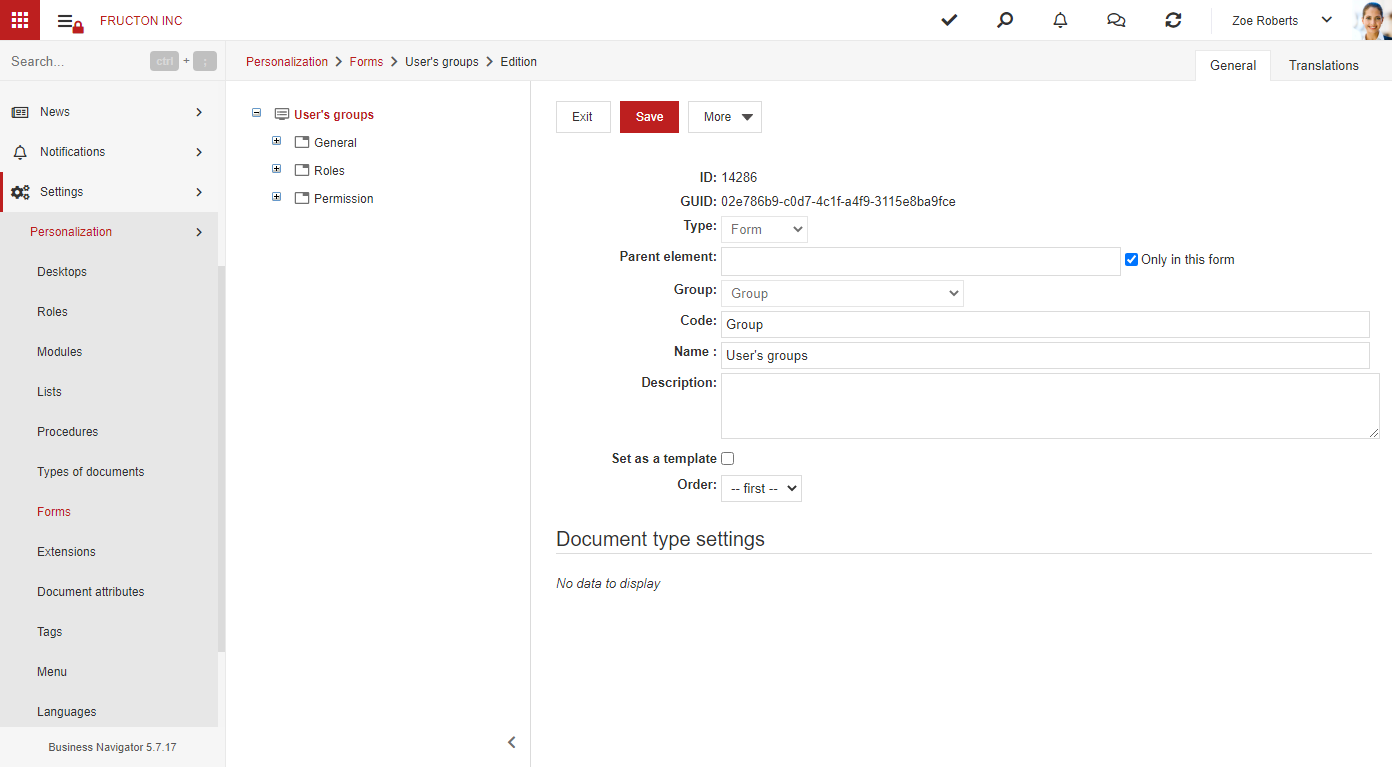
When you select Groups – User groups, you see a standard form view. There is no visual editor in the current version, so you can edit the form traditionally.
Like any other form, this one also consists of tabs, containers, embedded fields, attributes, etc. You can use it the same way as others. As in the user form, all the fields match the elements in the old version of the form.