


Logging into the system
After starting the application, the first screen we see is the login screen. The screen does not differ from the standards used in other products. To get into the system, the login and password should be entered. This information can be obtained from the system administrator.

If you do not remember the password, you can use the password recovery mechanism. All you need to do is select the Forgot password option and enter your e-mail address in the window. If there is a user associated with the e-mail address in the system, an instruction to recover the password to the account will be sent by email.
 After logging in, you see the standard application screen. In its basic form, there are the following elements:
 The area where news or information from other users is displayed.
- Documents that await for your action
- Tasks assigned to the user for the current week
- Tasks assigned to the user for the next week
- Absences of the user and co-workers
Steps after the first login into the system
The Navigator system is built of elements that are called applications. Each application is a collection of forms, lists, and procedures aimed at a specific field, such as human resources (HR), documents, projects, and payments. During the first run, all applications the user has permissions for are shown in the menu on the left. When you hover the mouse over this menu, you can select the application or its element.
Application selection
If there are too many applications and working with a full set is inconvenient, it is possible to limit the scope to one application. It is as simple as just selecting it from the application menu.
 When an application is selected, the menu on the left will only contain items from that application.
 You can switch to another application or select the “Show all application on menu” option through the application menu.
Menu navigation
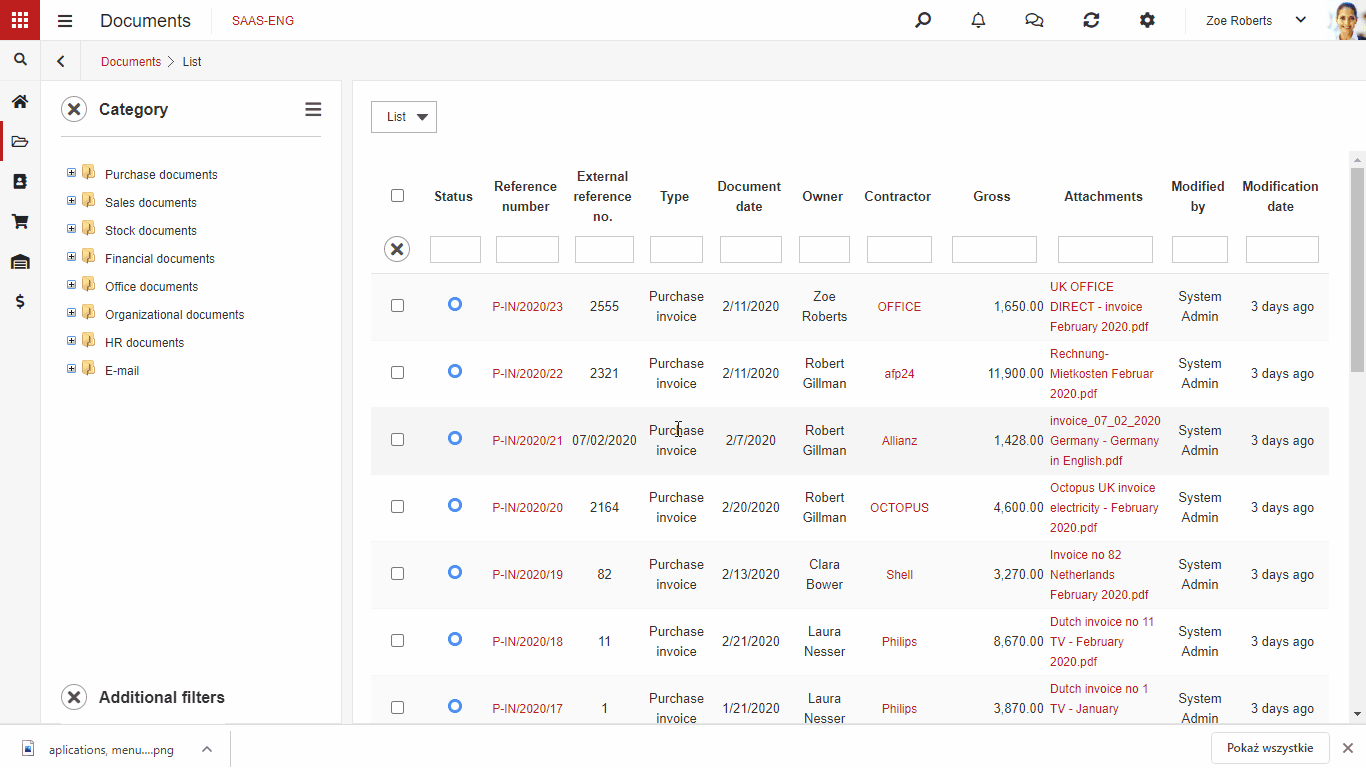
An additional area appears in some applications. For example, in the Documents application, there are document categories at your disposal by which you can quickly narrow down the list of documents.
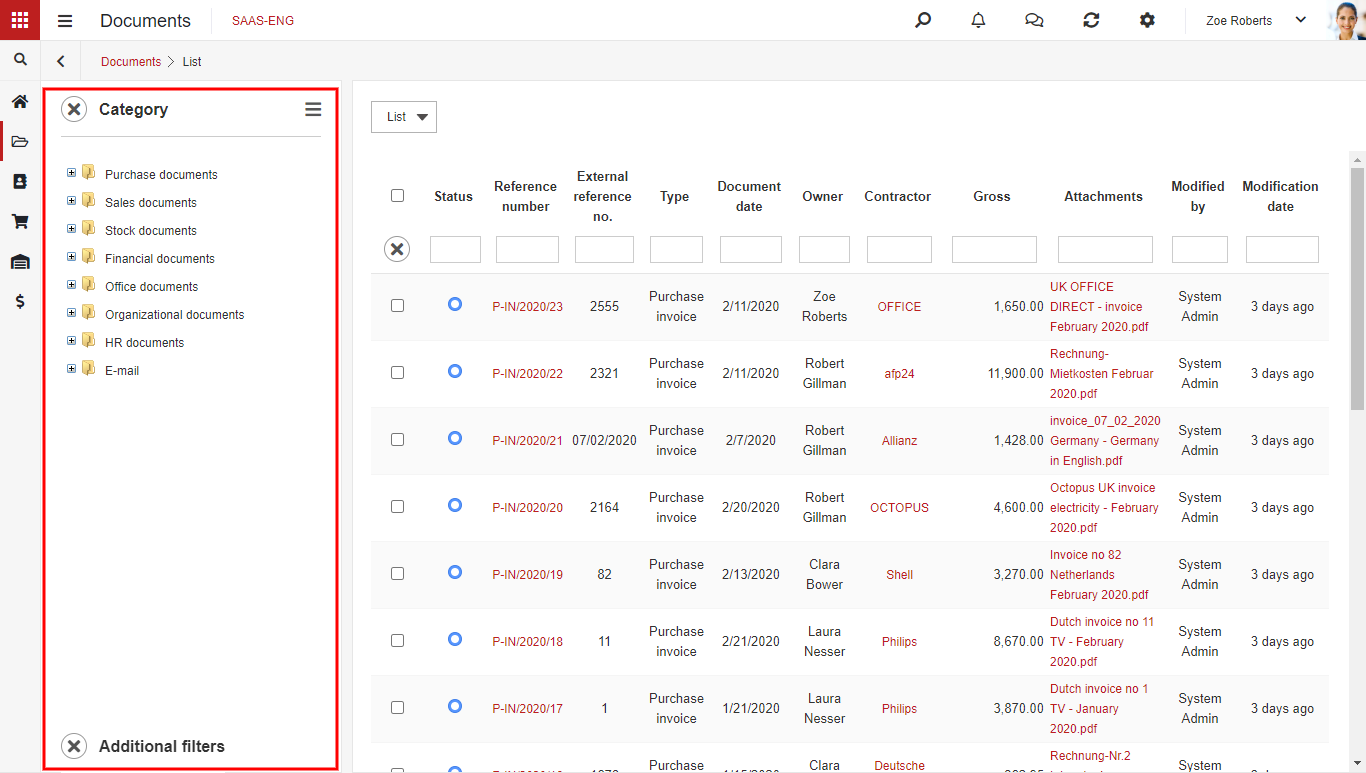 These additional areas limit the work area, which makes you see less on the screen. With extended lists or forms, this can be a problem, so both the menu and additional areas can be minimized.
 Minimization limits the menu to icons or the initials of the menu items.
 Similarly, in additional areas, it is possible to hide them completely. Thanks to these mechanisms, almost the entire screen is available for the elements that are being used at the moment.
Desktops
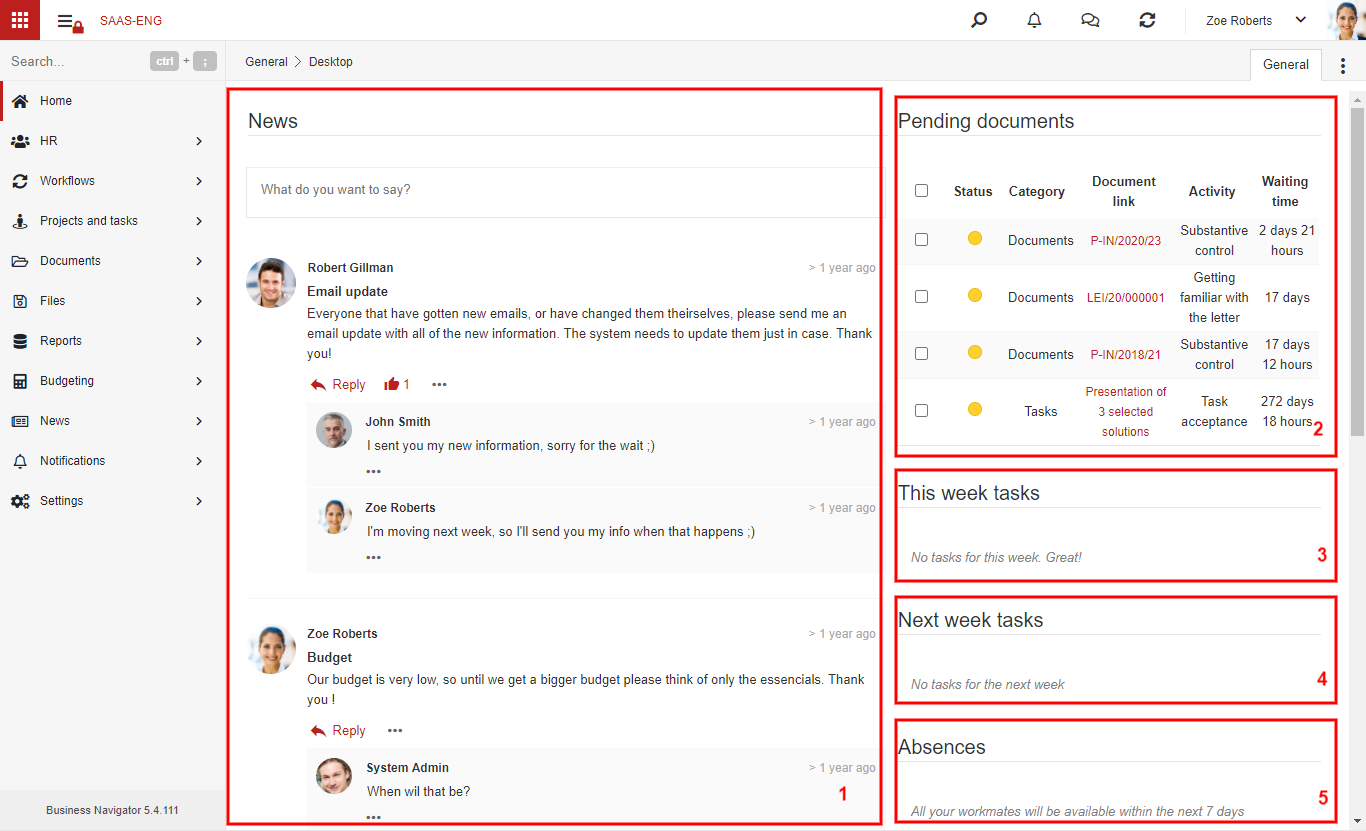
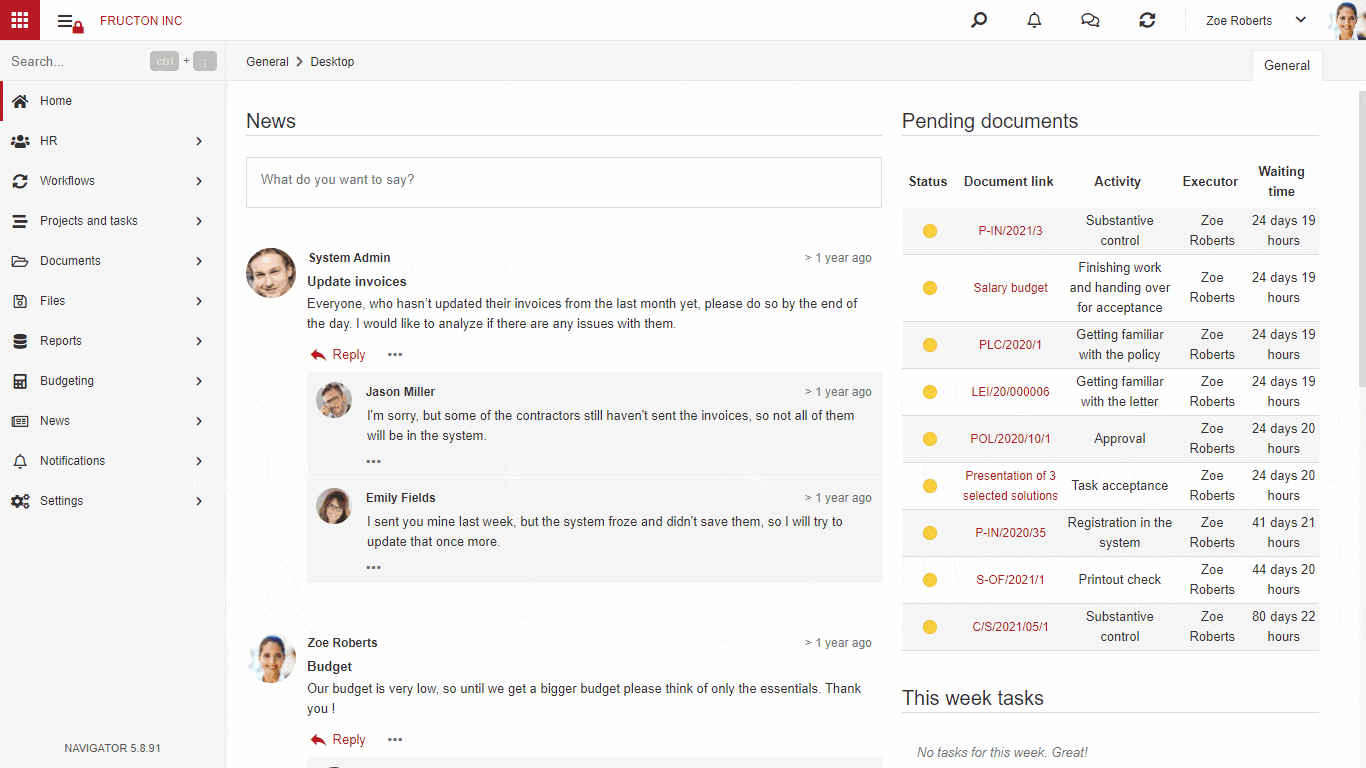
The first screen that the user sees after logging into the system is the desktop. The standard Navigator desktop looks like this:
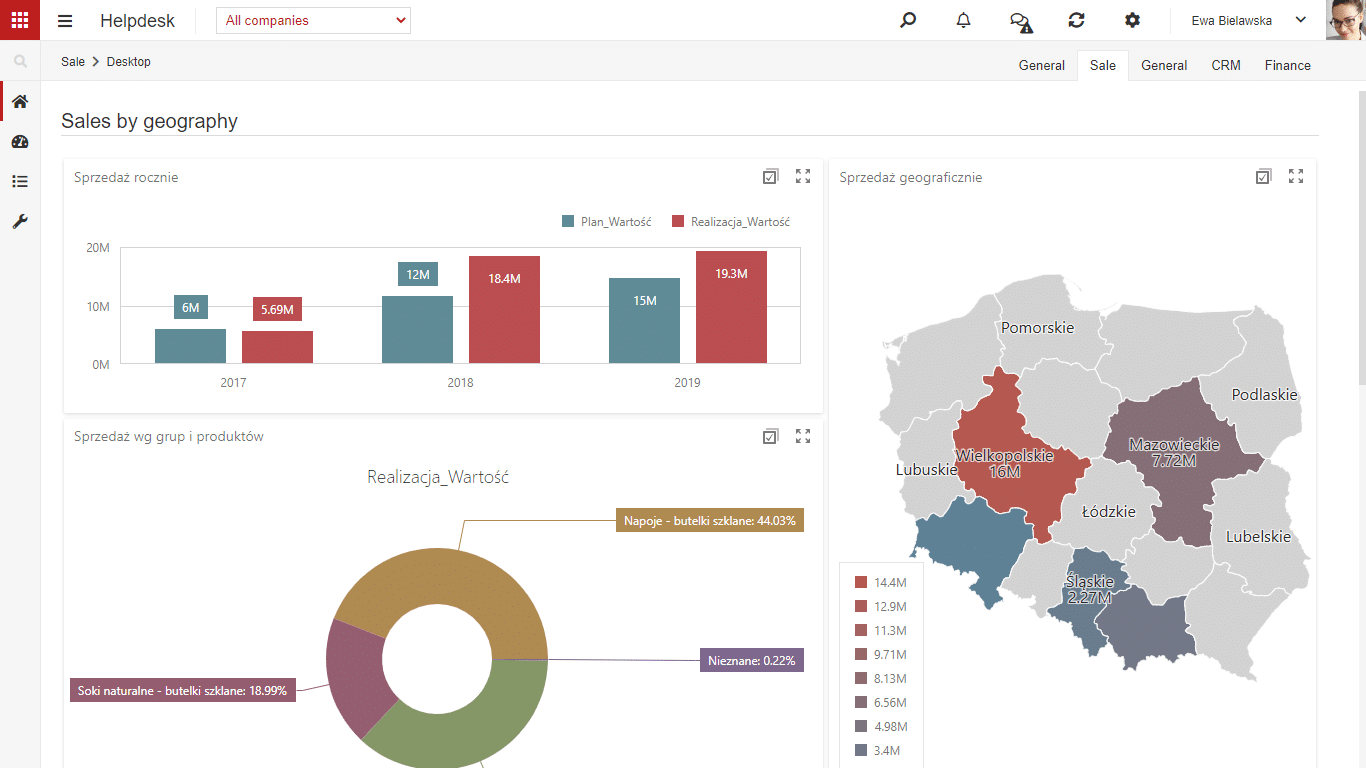
There are the following elements: current information (1), documents (2), pending tasks (3), a task plan (4), and an absence list (5). The administrator can change the standard desktop, so the desktop may look different in a specific implementation. The desktop is used to present data and to quickly move to documents that await user reactions – e.g. letters that must be approved by the user. The system administrator can create new desktops tailored specifically for a department or user. For example, a dashboard showing the current sales report:
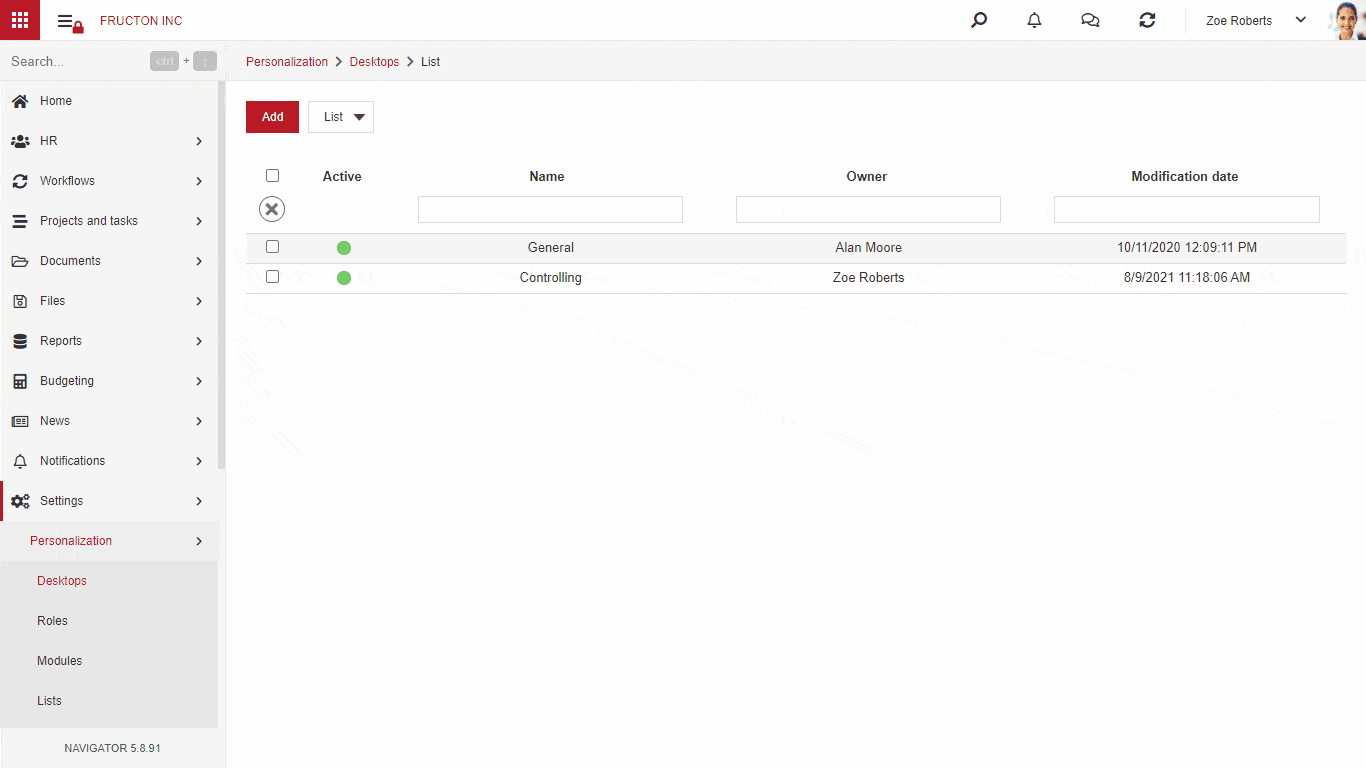
Switching between desktops is based on switching between tabs. Users can activate and deactivate the desktop at any time. Active desktops are visible in the tabs on the home page, inactive desktops are invisible. Activation and deactivation is done via the Settings> Personalization> Desktops.
In the settings, there is a list of desktops with an indicator of whether the desktop is active – a green dot on the list. It is activated by selecting the option from the More menu after selecting the desktop. Immediately after activation, the desktop is available. The order of desktops on the list corresponds to their order in the tabs, the first desktop on the list is normally opened after starting the system.
Possibility to edit the desktop
The user can modify and adjust the existing desktop to their own needs. Administrator rights are not needed for such modifications, so they can be made by any user. There is a Dashboard section in the Personalization application where all the desktops you create are available. To modify the desktop, copy it and make changes to the copy. Personalizing the original desktop by an unauthorized user fails. An unauthorized user cannot add a new desktop either.
 After saving the new desktop, you can change the configuration – deactivate the standard desktop and activate the created desktop.